Have you ever wanted your students could see how the Bible parts fits together?
Do your kids get confused about who came first—Moses or David, Paul or Jesus?
Want a simple way to help them understand the Bible’s big picture without overwhelming them?
If you’ve ever asked questions like these, a Bible timeline might be just what you need! Let’s look at how you can use timelines in your classroom or homeschool to make Bible learning more visual, engaging, and memorable.
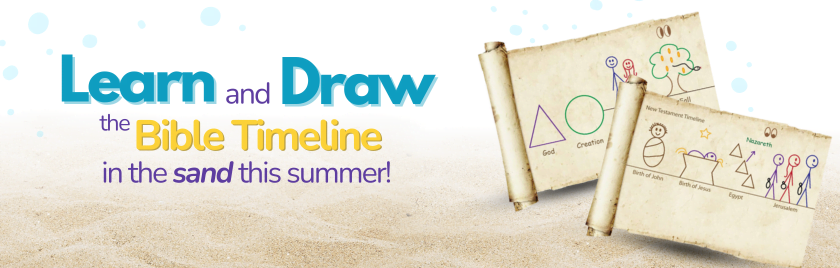
Bible timelines are one of the best tools for helping students see the big picture of God’s story. Whether you’re teaching in a classroom or at home, timelines give your students a visual way to connect people, events, and books of the Bible.
In this post, we’ll look at practical and flexible ways to use Bible timelines with students of all ages.
Why Timelines Work
Bible timelines help students:
- Understand chronological order of the Bible
- Make connections between the Old and New Testaments
- Remember key people and events
- Develop a stronger foundation of Bible literacy
For visual and hands-on learners, timelines are especially helpful because students can see and interact with the material as they learn.
Ways to Use Bible Timelines in Classrooms
-
Lesson Context
Before the lesson, review the timeline to help students see the people and events that came before to better understand the context of the current lesson. -
Lesson Reviews
After each lesson, use the timeline to review where the story and people fit in the scope of the Bible. Let students add stick figures, dates, and books of the Bible as a class activity. -
Unit Wrap-Ups
At the end of a unit, walk through the timeline together. Have students tell the story in order or quiz each other on key events and related verses. -
Morning Work or Bell Ringers
Have students label or illustrate one part of the timeline as they come in each day. -
Group Projects
Assign groups different time periods or characters to research and illustrate for a timeline wall. Details written or drawn on index cards can be added below the timeline.

Ways to Use Bible Timelines at Home
-
Table Talks
Use the timeline as a way to start a mealtime or devotional conversation. Ask questions like “What happened before this?” or “Who lived at the same time?” -
Hands-On Drawing
Kids can draw events on blank timeline templates after reading a passage. It’s a fun way to reinforce what they’ve learned and help them see the events in order. -
Memory Verse Anchors
Place memory verses on your timeline next to the person or event they connect to. Sticky notes are great for this project. -
Flexible Pacing
Go at your own pace—add one event a week or build out a full timeline during a study.
Final Tip: Make timelines visible! Hang them on a wall, keep them in student binders, or roll them out each week. The more students see it, the more they will remember the people and events.
? Want to get started?
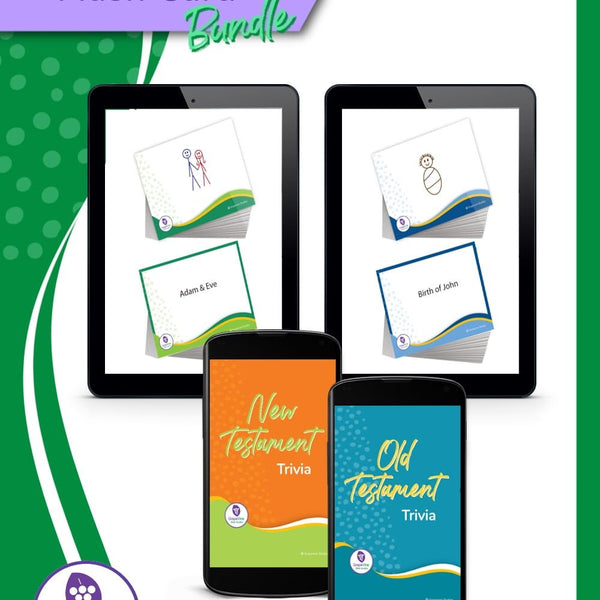
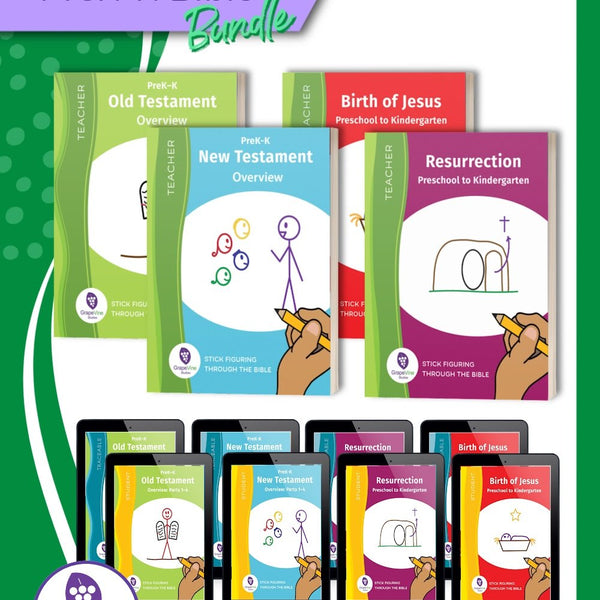
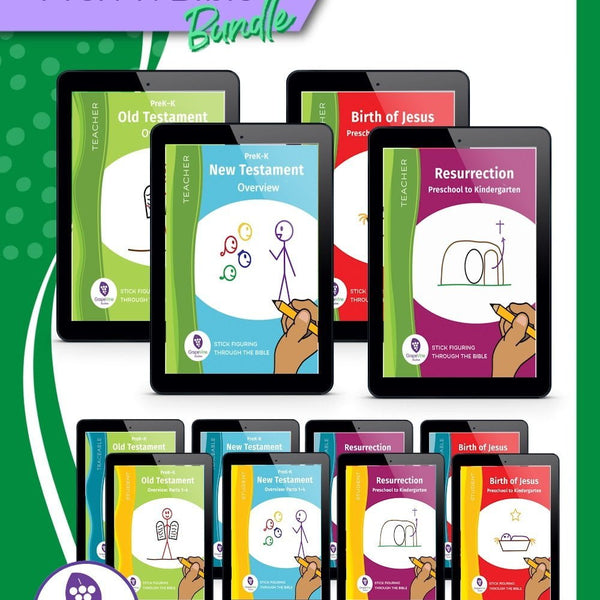
Check out our Timeline Bundle with everything you need to begin using timelines today—teacher notes, student pages, and visual guides for each timeline.