How to Organize Your Bible Teaching Space
🍇Does your teaching space feel a little chaotic before class even starts?
🍇Are you tired of shuffling through piles of papers, missing supplies, or forgetting where you put your Bible lesson notes?
🍇Wouldn’t it be great to walk into your classroom, kitchen table, or Sunday school room knowing everything is in its place and ready to go?
How to Organize Your Bible Teaching Space
Whether you’re teaching at home, in a Christian school classroom, or in a Sunday school setting, an organized Bible teaching space makes a big of difference. When your materials are easy to find and your space is set up for learning, you can spend more time connecting with your students and less time hunting for that missing marker.
Here are some simple tips to help you organize your Bible teaching space so it works for you and your students.
1. Create a Dedicated Teaching Zone
Even if you don’t have a whole room to yourself, designate a specific spot where Bible teaching materials are kept. This could be:
- A corner of the living room for homeschool
- A small section of your classroom
- A rolling cart in the Sunday school supply room
Having a defined space makes it easier to store and access your teaching tools.
2. Keep Your Most-Used Supplies Within Reach
Think about what you use every single lesson—Bibles, teacher book, whiteboard markers, student workbooks, and timeline charts. Keep these items in a basket, tote, bookcase, or drawer that’s easy to grab. Less-used items can be stored further away.
3. Use Bins and Labels
Clear bins with labels save time and headaches. You’ll know exactly where your flashcards, memory verse cards, and stick figure timeline pieces are when you need them. If you’re teaching younger children, picture labels can help them put things back in the right place too.

4. Store Lessons in a Binder or Digital Folder
Keep your lesson plans and handouts organized by unit or topic. A 3-ring binder works well for printed materials. Combine that with a digital folder on your computer or tablet to keep your PDF lessons and resources. Having everything in one place keeps you from wasting time searching for the right file or page.
5. Make Set-Up and Clean-Up Part of the Routine
Before class starts, take 5–10 minutes to set out materials. Afterward, have your students help put things back in order. This habit keeps your space ready for the next lesson and teaches responsibility at the same time.
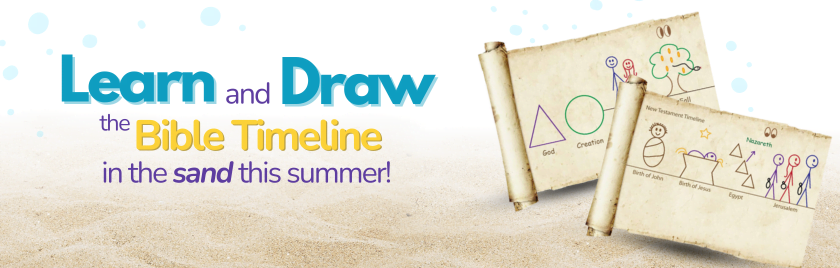
6. Add a Visual Bible Timeline
If you teach chronologically, a wall Bible timeline is a game-changer. It keeps students engaged and gives them a visual anchor for where each lesson fits into God’s story. It helps you to have a visual reminder of where you are within your overall teaching schedule.
When you organize your Bible teaching space, you set yourself—and your students—up for success. You’ll spend less time searching for things and more time focusing on the Bible lesson itself. Start small, build habits, and watch how it transforms your teaching time.
If you are ready to make your teaching space even more effective, explore our Bible Timelines and Teaching Resources to save time and engage your students—whether you’re teaching at home, in a school, or at church.